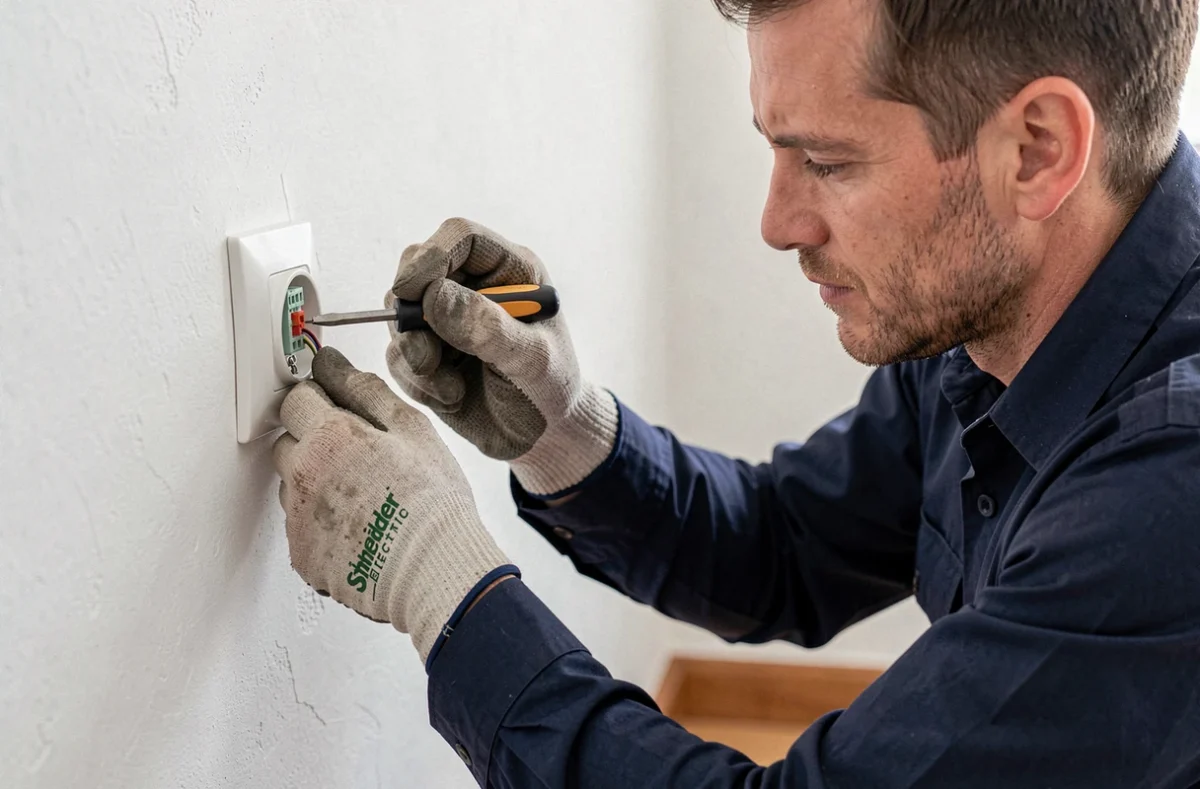
You have cut the power, removed the finishing plate, and now the wire refuses to come out of the terminal. This situation is common with Schneider automatic connection sockets: the locking mechanism holds the conductor, and pulling on it without a method risks breaking the terminal or damaging the wire. Removing wires from a Schneider electrical socket requires a precise action, not brute force.
Schneider Locking Mechanism: Spring, Clip, or Screw Depending on the Range
The term “Schneider” encompasses several generations and ranges of sockets. Before touching anything, it’s essential to identify the type of terminal installed. Not all are handled in the same way.
Recent sockets (Odace, Ovalis ranges) primarily use automatic spring terminals. The wire is inserted by pressure and locked by a small internal metal spring. To release it, you need to press a trigger located at the back or side of the mechanism while gently pulling the conductor.
The older Alvaïs range employs a clip system that often causes issues. Several users on DIY forums describe the difficulty in locating the exact pressure point. On these models, a small button (sometimes called “bitogno”) is located opposite each wire, on the back side of the socket. You need to press it with a flat screwdriver while “agitating” the wire, meaning pulling it with slight lateral movements.
Some older or professional models retain classic screw terminals. Here, a simple screwdriver is enough to loosen the screw and free the conductor. You will find practical information on Blog Généraliste detailing the variations according to Schneider references.
The most reliable reflex is to consult the manual for the exact reference of your socket. The reference number is located on the mechanism itself, often embossed on the back plastic.
Check for Voltage Before Removing a Schneider Wire
Cutting the circuit breaker is not always enough. If your electrical panel is poorly labeled, or if the installation has been modified over the years, the circuit you believe to be off may still be powered by another breaker.
A voltage absence tester is the only tool that confirms safety. It is placed directly on the conductors, at the work point. Two-prong models (VAT type) are inexpensive and can be used in seconds.
Why this precaution for such a simple operation? Because the action of removing a wire exposes the bare conductor. If voltage is present, contact with the hand or a metal tool can cause electrocution. The risk exists even on a poorly connected ground wire upstream.
Three Checks Before Touching the Terminals
- Cut the circuit breaker corresponding to the socket circuit, then check with a device that there is indeed no voltage on the phase and neutral terminals
- Ensure that no one can restore power during your intervention, for example by placing adhesive tape on the circuit breaker with a clear indication
- If you are working on an old installation, also check the neighboring conductors in the junction box, as wires from another circuit may coexist in the same box
Technical Gesture to Unlock a Schneider Automatic Terminal
Once safety is confirmed, let’s move on to the action itself. On a spring automatic terminal, the most common mistake is pulling the wire without pressing the trigger. The spring deforms, and the terminal becomes unusable.
Here is the procedure that works on most recent Schneider ranges:
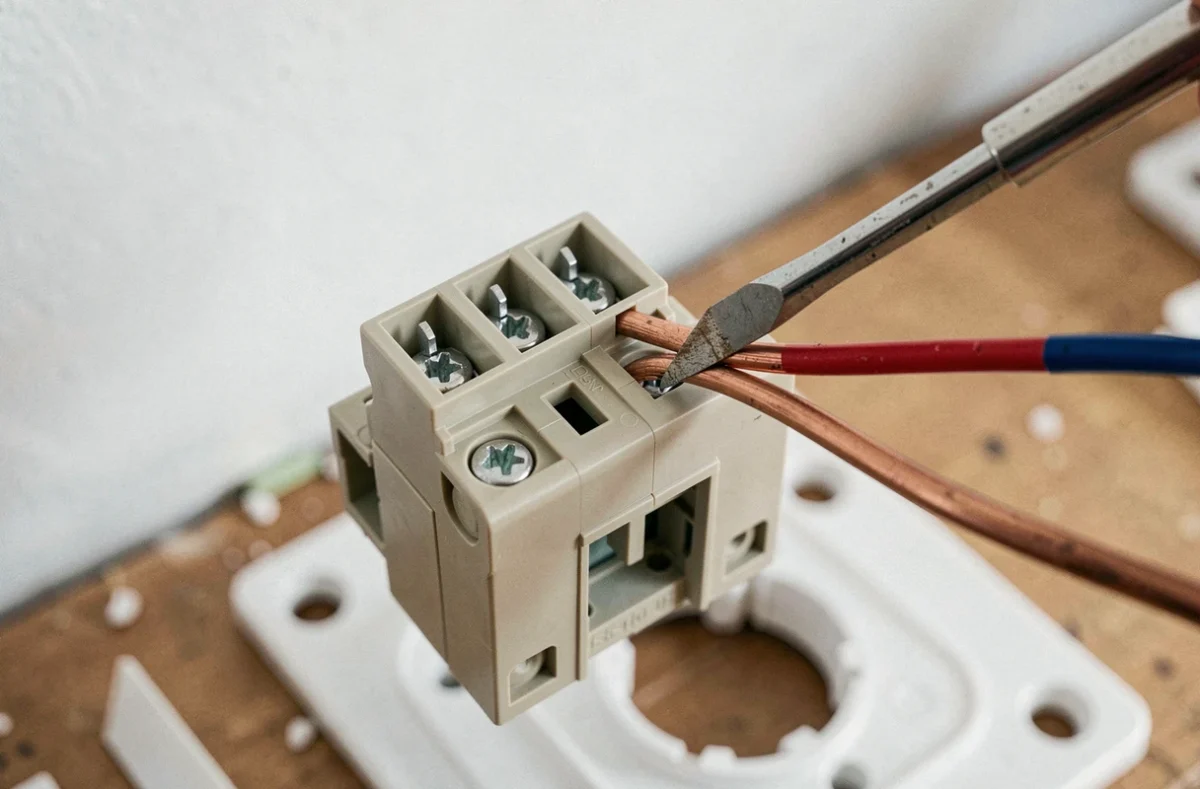
- Turn the mechanism over to access the back. Each terminal has an opening or a small rectangular lever next to the wire entry
- Insert a thin flat screwdriver (blade width suitable for the opening) and press firmly down to compress the internal spring
- Maintain pressure on the trigger and gently pull the wire, without jerking. The conductor should slide out without resistance
- If the wire resists despite the pressure, give it a slight rotational movement. The copper may have slightly adhered to the metal contact after years of tightening
On Alvaïs clip models, the principle is the same, but the unlocking button is smaller and less intuitive. An electrician’s screwdriver with a narrow blade makes manipulation easier.
Specific Case of Rigid and Flexible Wires
Rigid conductors (single solid copper wire) are easier to remove because they retain their shape. Flexible conductors (multistrand), sometimes found on extensions or specific installations, may have flared in the terminal.
If a flexible wire refuses to come out, never force it by pulling straight. Turn it slightly on itself to gather the strands, then pull while maintaining pressure on the trigger.

Check the Condition of the Terminals After Removing the Wires
The moment the wires are removed is an opportunity to check the condition of the mechanism. Competitors often overlook this step, but it’s a quick check that can prevent a future incident.
A browned, blackened, or deformed terminal indicates an abnormal heating of the connection. A melted, cracked, or discolored wire insulation near the terminal confirms the problem. In this case, reinserting the wire into the same terminal would be a mistake.
A conductor whose stripped end shows signs of greenish oxidation (copper exposed to moisture) must be cut cleanly before any reconnection. Remove the damaged part with cutting pliers and strip again to the length indicated by the manufacturer, usually marked by a template engraved on the mechanism.
If the terminal itself is damaged, the entire mechanism must be replaced. A deformed spring does not regain its original tension, and the electrical contact will be insufficient, a potential source of heating over time.
Removing wires from a Schneider socket remains an accessible operation as long as two principles are respected: identify the exact mechanism of your model, and never force without activating the unlocking. The action takes a few seconds when pressing in the right place.